Github page 블로그 만들기 - 3. Jekyll 테마선택, Github 호스팅
모든 과정은 SW developer님의 GitHub Pages 블로그 따라하기를 참고하여 만들었다.
지난 포스팅에서 루비와 지킬을 설치하고 bundle exec jekyll serve를 이용하여 기본 블로그를 생성하는 것 까지 해보았다.
이번 포스팅에서는 지킬 테마(내 블로그 테마인 minimal mistake)를 적용해보고 내 깃헙을 이용해 name.github.io주소로 호스팅 해보자.
1. Jekyll theme 선택
나는 css도 모르고, 디자인 구성도 할 줄 모르기 때문에 블로그 디자인을 직접 구현하기보다 이미 구성되어있는 template을 적용하여 블로그를 만들것이다. 무료 지킬 테마가 많이 배포되어 있다. 그 중 내가 참고한 글이 minimal-mistakes 테마를 이용했기 때문에 그대로 따라해볼것이다.
2. minimal-mistakes 가져오기
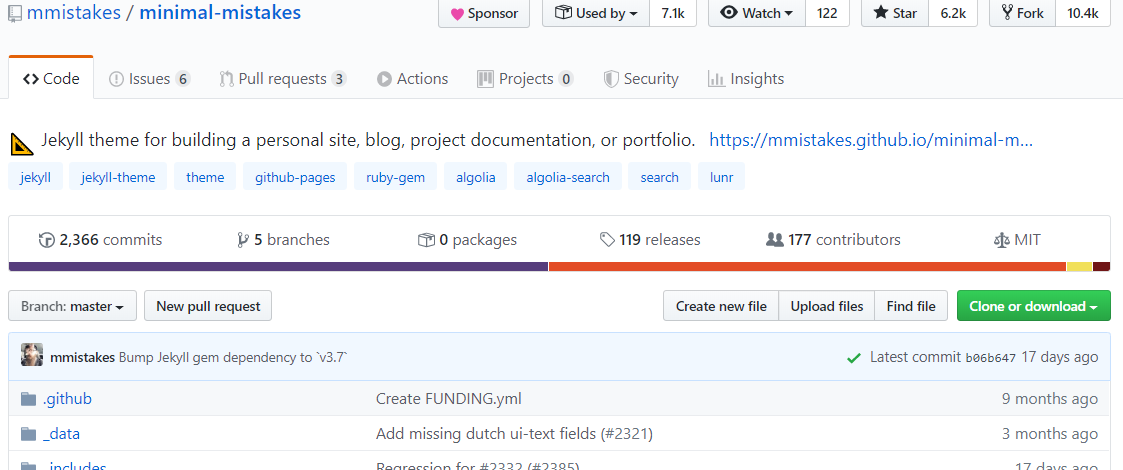
minimal-mistakes repo를 clone하여 가져오자.

$ git clone https://github.com/mmistakes/minimal-mistakes.git
Cloning into 'minimal-mistakes'...
remote: Enumerating objects: 16700, done.
remote: Total 16700 (delta 0), reused 0 (delta 0), pack-reused 16700
Receiving objects: 100% (16700/16700), 42.35 MiB | 5.10 MiB/s, done.
Resolving deltas: 100% (9828/9828), done.
Checking out files: 100% (724/724), done.
clone으로 소스코드를 다운로드하면, 해당 디렉토리로 이동 후 bundle 명령어를 수행하여 gemfile을 검사하고 필요한 목록을 설치한다.
$ cd minimal-mistakes
$ bundle
Fetching gem metadata from https://rubygems.org/...........
Fetching gem metadata from https://rubygems.org/.
Resolving dependencies...
Using rake 10.5.0
...(생략)
Using minimal-mistakes-jekyll 4.18.1 from source at `.`
Bundle complete! 3 Gemfile dependencies, 38 gems now installed.
Use `bundle info [gemname]` to see where a bundled gem is installed.
설치 후 bundle exec jekyll serve명령어로 이전 포스팅 처럼 웹 호스팅을 할 수 있다. http://127.0.0.1:4000/
$ bundle exec jekyll serve
Configuration file: C:/Users/User/Desktop/Blog/minimal-mistakes/_config.yml
            Source: C:/Users/User/Desktop/Blog/minimal-mistakes
       Destination: C:/Users/User/Desktop/Blog/minimal-mistakes/_site
 Incremental build: disabled. Enable with --incremental
      Generating...
       Jekyll Feed: Generating feed for posts
                    done in 1.203 seconds.
  Please add the following to your Gemfile to avoid polling for changes:
    gem 'wdm', '>= 0.1.0' if Gem.win_platform?
 Auto-regeneration: enabled for 'C:/Users/User/Desktop/Blog/minimal-mistakes'
    Server address: http://127.0.0.1:4000
  Server running... press ctrl-c to stop.

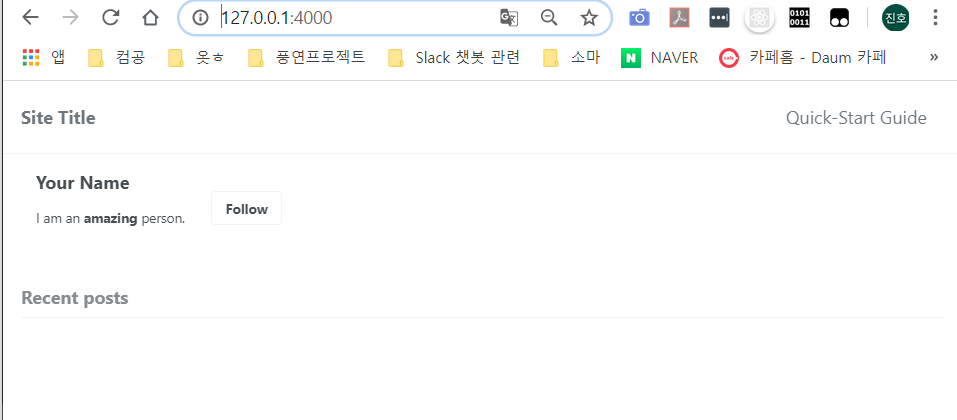
minimal-mistakes 테마가 적용되었다.
3. name.github.io 주소로 웹 호스팅하기
bundle exec jekyll serve명령어를 이용하면 내 로컬 서버에서만 이용할 수 있다. 다른 사용자들도 이용할 수 있도록 깃허브 페이지에 올려보자.
웹 호스팅을 위해 깃허브에 새로운 repo를 생성해야한다. repo명은 name.github.io형식으로 해야한다. 나는 JinHoooooou.github.io로 했다.
이제 내 로컬에 다운받은 minimal-mistakes 디렉토리 remote repo설정을 JinHoooooou.github.io로 바꾸어야한다. 그리고 디렉토리명도 바꾸자.
$ mv minimal-mistakes/ JinHoooooou.github.io
$ cd JinHoooooou.github.io

$ git remote -v
origin  https://github.com/mmistakes/minimal-mistakes.git (fetch)
origin  https://github.com/mmistakes/minimal-mistakes.git (push)

$ git remote remove origin
$ git remote add origin http://github.com/JinHoooooou.github.io
$ git push -u origin master
...(생략)
minimal-mistakes repo를 clone했기 때문에 git remote -v로 확인해보면 remote 설정이 minimal-mistakes로 되어있는걸 확인할 수 있다. git remote remove origin으로 기존 origin을 제거하고 내 repo로 설정해준다. 그리고 git push -u origin master로 내 repo에 소스들을 업로드한다.

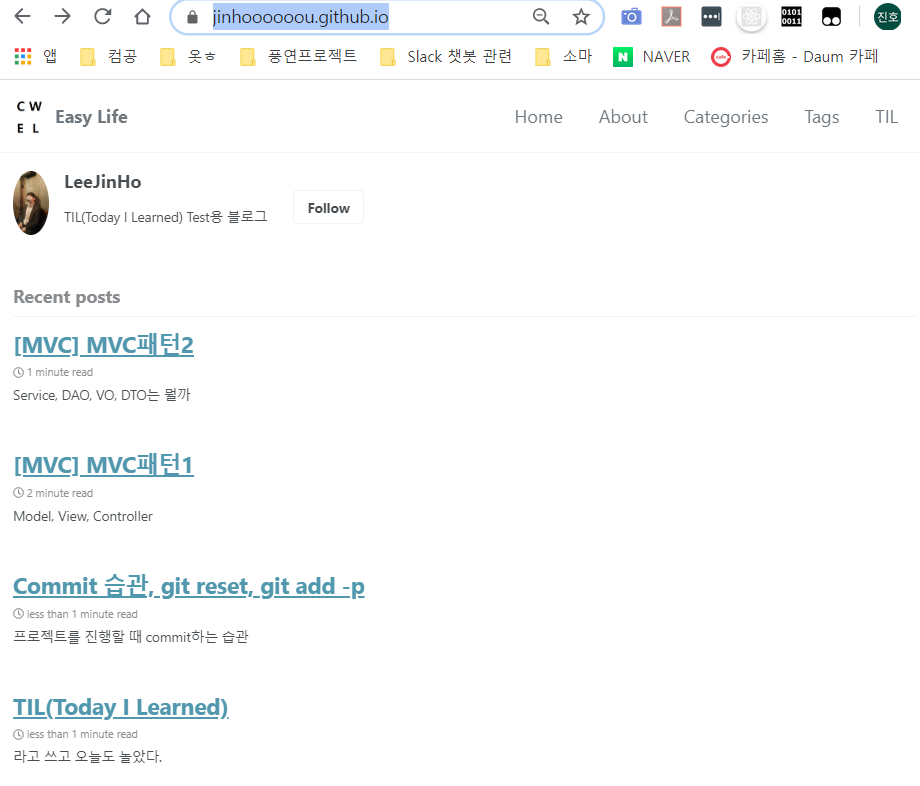
위의 과정을 완료하고 직접 포스팅을 한 내 블로그화면이다. 포스팅에 관련해서는 다음 포스팅때 다뤄보자.


댓글남기기