
Github page 블로그 만들기 - 2. Ruby와 Jekyll 설치, 기본 블로그 생성
모든 과정은 SW developer님의 GitHub Pages 블로그 따라하기를 참고하여 만들었다.
1. Ruby 설치
이미 설치했기 때문에 ruby 설치로 대체
설치 후 .bashrc 파일에 루비 환경설정을 추가하고 source 명령어로 업데이트한다.
$ echo '# Install Ruby Gems to ~/gems' >> ~/.bashrc
$ echo 'export GEM_HOME=$HOME/gems' >> ~/.bashrc
$ echo 'export PATH=$HOME/gems/bin:$PATH' >> ~/.bashrc
솔직히 이거 왜 하는지는 이유를 모르겠다. 후에 여유가 되면 찾아보자.
2. Jekyll과 bundler 설치
gem install 명령어를 이용하여 지킬과 bundler를 설치한다. 잼(gem)은 라이브러리의 작성이나 공개, 설치를 도와주는 시스템이라고 이해하자. 리눅스의 apt 시스템과 유사하다고 한다.
$ gem install jekyll bundler
3. 샘플 블로그 생성
$ jekyll new HelloBlog
Running bundle install in C:/Users/User/Desktop/Blog/HelloBlog...
  Bundler: Fetching gem metadata from https://rubygems.org/..........
...(생략)
New jekyll site installed in C:/Users/User/Desktop/Blog/HelloBlog.
HelloBlog라는 디렉토리가 생성되었고 웹사이트가 생성되었다. 해당 디렉토리로 들어가서 웹사이트 호스팅을 한다.
$ cd HelloBlog
$ bundle exec jekyll serve
Configuration file: C:/Users/User/Desktop/Blog/HelloBlog/_config.yml
            Source: C:/Users/User/Desktop/Blog/HelloBlog
       Destination: C:/Users/User/Desktop/Blog/HelloBlog/_site
 Incremental build: disabled. Enable with --incremental
      Generating...
       Jekyll Feed: Generating feed for posts
                    done in 1.192 seconds.
 Auto-regeneration: enabled for 'C:/Users/User/Desktop/Blog/HelloBlog'
    Server address: http://127.0.0.1:4000/
  Server running... press ctrl-c to stop.
웹 브라우저에서 http://127.0.0.1:4000/ 을 입력하면 기본 화면이 출력된다.
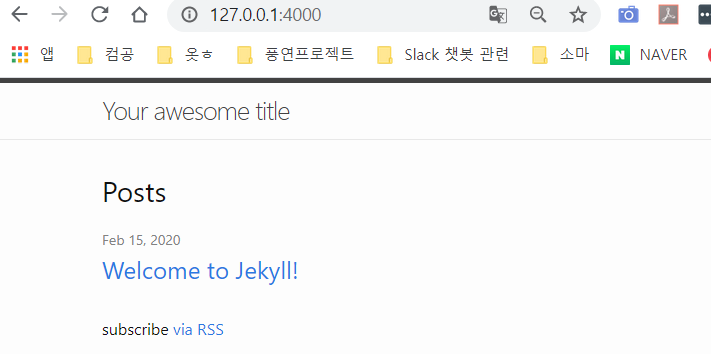
지킬을 이용하여 간단한 블로그 생성을 해보았다. 다음은 지킬 테마를 사용하는법을 포스팅 할것이다.

댓글남기기